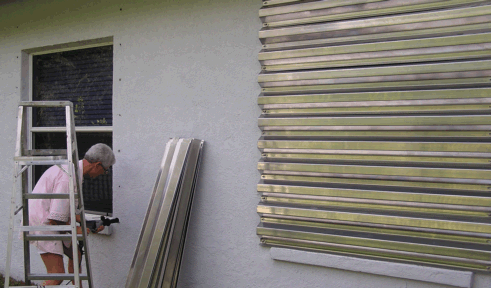
Picture provided by the Payne's
Do-it-yourselver's
Land O' Lakes, Florida
September 2004
1. Since the window has a sill, the first panel must rest on the sill. Center one panel on the window and mark a dot in the center of the bottom keyhole on the panels. If the window does not have a sill, center the panels from top to bottom over the window or door.
2. Remove the panel from the top of the sill.
3. Using a level and a tape measure, mark the wall every 12" from the bottom to the top. Assuming we are working on the left side of the window, you should have six vertical dots on your wall.
4. Using a level, line up one of the dots on the left side and draw a thin line about 2" to 3" past the window on the right side.
5. Place your tape measure on the dot on the left side and measure over to the right 44" (length of the panel - 2") and place a dot on the horizontal line.
6. Follow the procedure in step 3 to mark your vertical dots on the right side.
- Premark your holes.
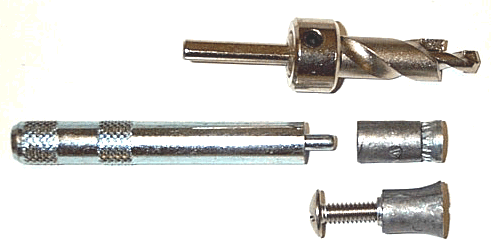
- Using the ½" Combination Drill Bit, drill a hole deep enough to insert the 1/4-20 Machine Screw Anchor into the Concrete or Concrete Block. Blow-out any excess dust in the hole. We recommend using a can of compressed air.
- Insert the ¼-20 Machine Screw Anchor with the cone shaped portion entering the hole first. This is very important! The cone must be in the back of the hole.
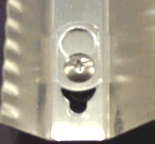
- Insert the machine screw setting tool into the lead portion of the anchor and strike the end with a hammer until the lead portion expands over the cone shaped portion of the anchor. Your anchor is now ready to be used with the ¼-20 combo truss head stainless steel screw. Notice in the picture below the lead portion of the anchor is expanded back into the hole.


